Get Your Gate On: A DIY Guide to Installing Wooden Gates
Are you looking for a way to enhance the privacy and security of your property while adding a touch of elegance and charm? Look no further than a wooden gate! Whether you're looking for a classic picket fence-style gate or a sleek modern design, wooden gates can be a durable and stylish addition to any property.
However, with so many types of wood and installation options available, it can be daunting to get started.
We'll provide a comprehensive guide on selecting the right type of wood for UK climatic conditions and step-by-step instructions for installing a wooden gate that will not only be functional but also add to the aesthetic value of your property.

The UK is known for its high levels of moisture and unpredictable weather conditions, so it's important to choose a type of wood that is naturally resistant to decay, moisture damage, and insect infestations. One such option is cedar, a popular choice for wooden gates due to its natural resistance to decay and insect damage. Its lightweight and stable nature make it easy to work with, while its pleasant aroma and rich colouring make it a visually appealing option.
Another suitable type of wood for UK climatic conditions is redwood, which is known for its strength, durability, and resistance to moisture damage. It is also a popular choice for outdoor furniture and decking, making it a versatile option for various applications. Its natural resistance to decay and insects makes it a low-maintenance option that can withstand the unpredictable UK weather conditions.
Oak is a third option that is suitable for UK climatic conditions. As a hardwood, oak is known for its strength and durability, and its natural resistance to decay and insect damage make it a great choice for outdoor structures like gates. While it is a heavier and more dense wood than cedar or redwood, it is highly resistant to wear and tear, making it a durable option that can last for many years with proper maintenance.
Ultimately, the type of wood you choose for your gate will depend on your specific needs and preferences. It's important to consider factors such as durability, maintenance requirements, and visual appeal when making your selection. By choosing a wood that is well-suited for UK climatic conditions and following proper installation procedures, you can ensure that your wooden gate will provide years of reliable service while enhancing the overall appearance of your property.

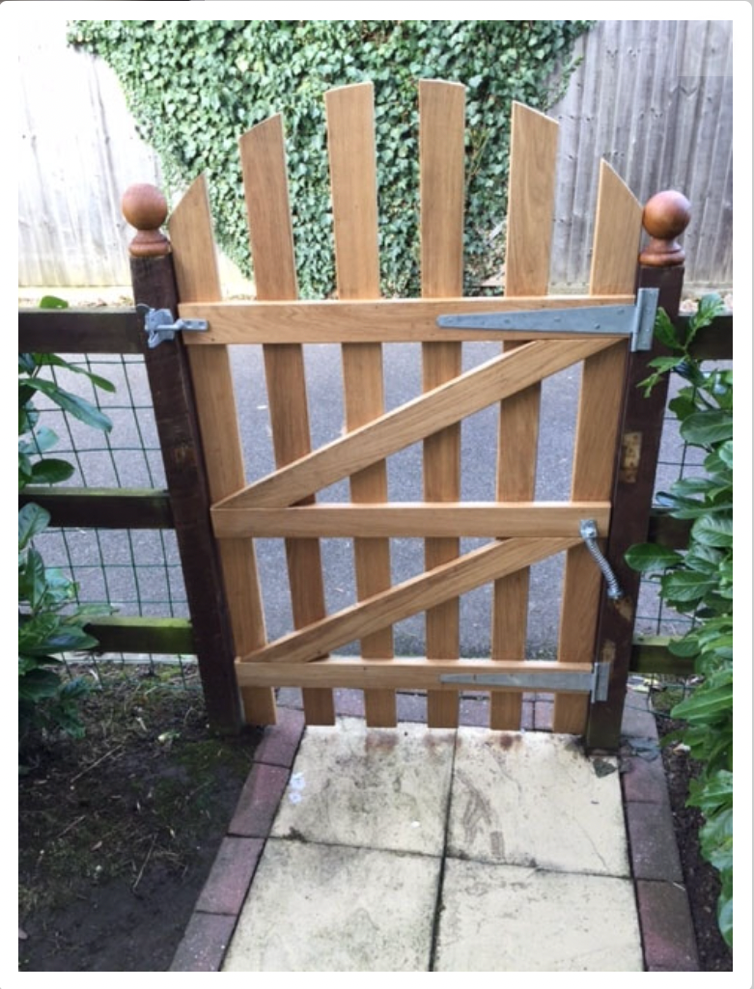
Installing a wooden gate may seem like a daunting task, but with the right tools and a little know-how, it can be a fun and rewarding DIY project. Here is a more detailed step-by-step guide to help you through the process:
- Measure the opening - Measure the width and height of the gate opening to determine the size of the gate. It's important to measure accurately to ensure that your gate will fit properly.
- Cut the gate frame - Cut the gate frame to the desired size using a saw. Be sure to use a square to ensure that the corners are square and the edges are smooth. If you're not comfortable using a saw, many hardware stores offer cutting services.
- Install the hinges - Install the hinges on the gate frame and attach them to the gate post. Use screws to secure the hinges to the frame and the post. Be sure to check that the gate is level and plumb as you attach the hinges.
- Install the latch - Install the latch on the gate frame, following the manufacturer's instructions. Test the latch to ensure it functions properly.
- Hang the gate - Hang the gate on the hinges, and make sure it opens and closes smoothly. If the gate seems to be dragging or sticking, you may need to adjust the hinges.
- Finish the gate - Apply a coat of sealant or paint to the gate to protect it from moisture and UV damage. This step is crucial for maintaining the integrity of the wood and ensuring the longevity of your gate.
 |
 |
As a DIY project, there are a few tips to keep in mind. First, it's important to take your time and measure accurately to avoid any costly mistakes. Secondly, use the right tools for the job. A saw, drill, level, and square are all essential for a successful installation. Lastly, don't be afraid to ask for help. Installing a gate can be a two-person job, and having an extra set of hands can make the process much smoother.
Installing a wooden gate can be a fun and rewarding DIY project that can enhance the security and privacy of your property. By following these step-by-step instructions and keeping these tips in mind, you can be sure to create a durable and functional gate that adds to the aesthetic value of your property for years to come.
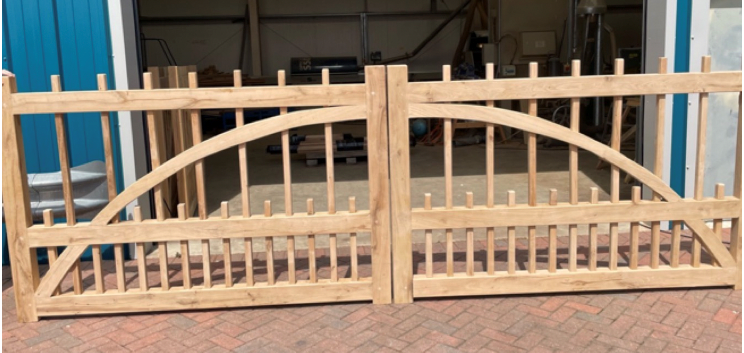
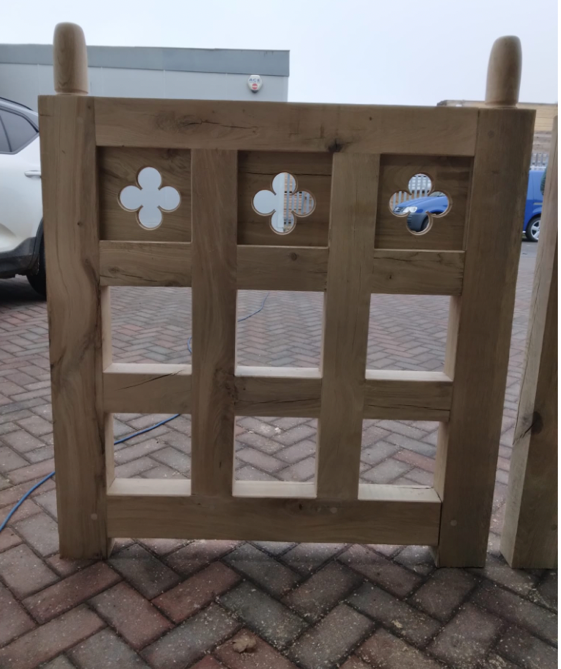
At Wittswood, as a leading supplier of bespoke wooden gates, we understand the importance of quality materials and expert craftsmanship. We offer a variety of styles and types of wood to choose from, including oak, cedar, and redwood, to ensure that your gate is not only functional but also visually appealing.
Investing in a wooden gate from Wittswood, can provide a unique and personalised touch to your property. With over 20 years of experience in crafting high-quality wooden gates, we have the expertise and knowledge to create a gate that is not only durable but also tailored to your specific needs.
In summary, whether you're looking to add privacy and security to your property or simply want to enhance the overall aesthetic value, a wooden gate is a versatile and practical investment that can provide many years of reliable service. Choose the right type of wood, follow proper installation procedures, and consider the expertise of a supplier like Wittswood to ensure that your gate will be both functional and beautiful.
To learn more, you can directly call us at 01205 722 700 or 07377 138 832 or email us at
You can also follow us on Facebook and Twitter to keep up with us! We promise we try to keep our social media accounts light and fun!

